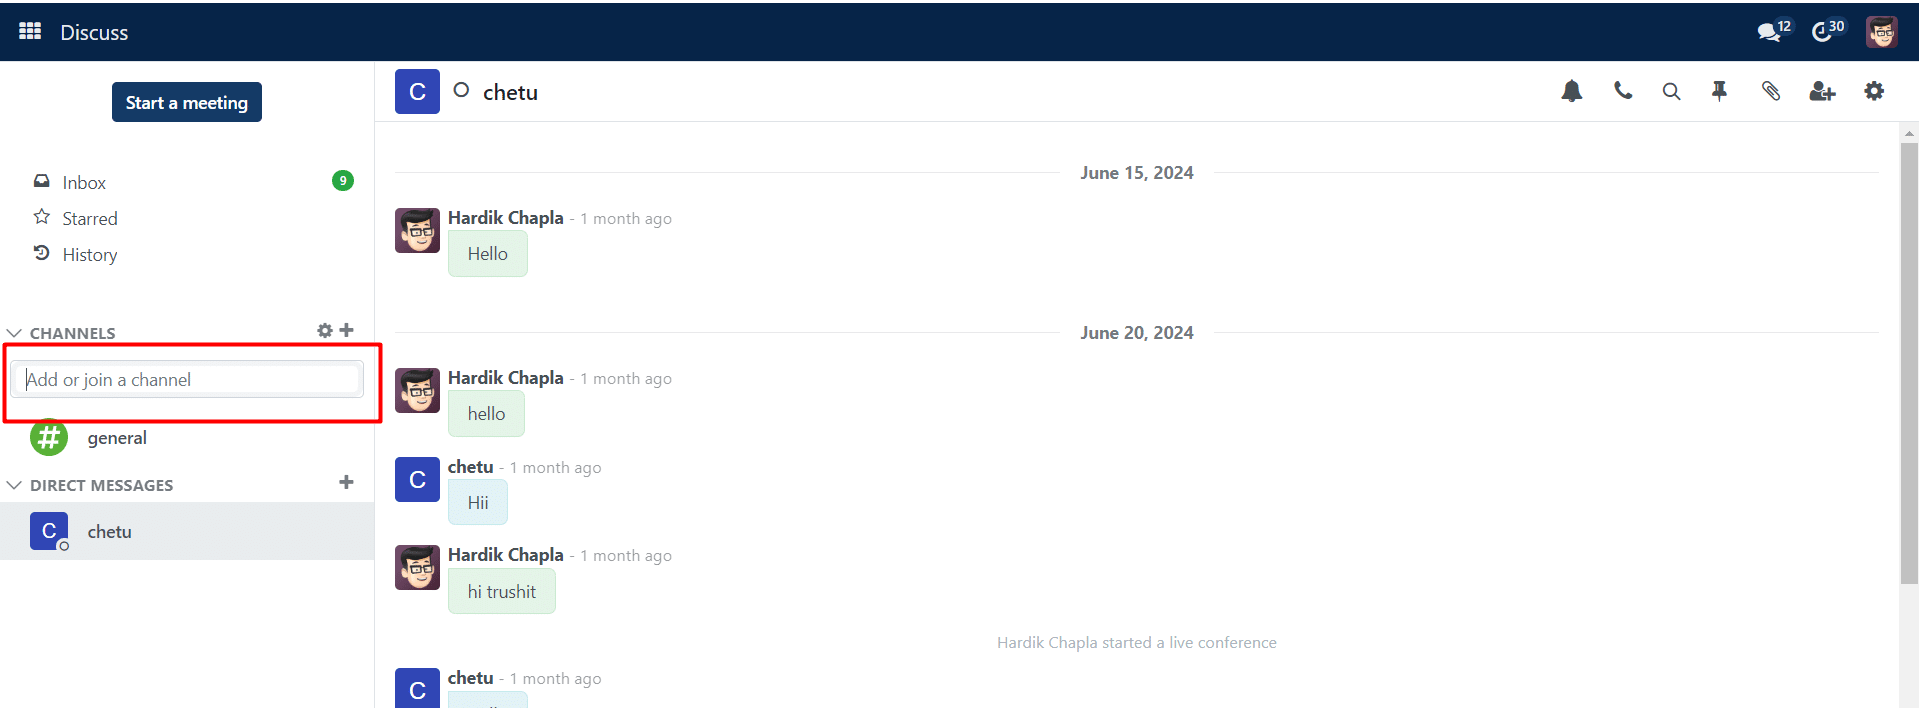
The Discuss Module allows you to create your own channels. To do that, as seen in the figure below, you have the option to construct a channel on the left side.
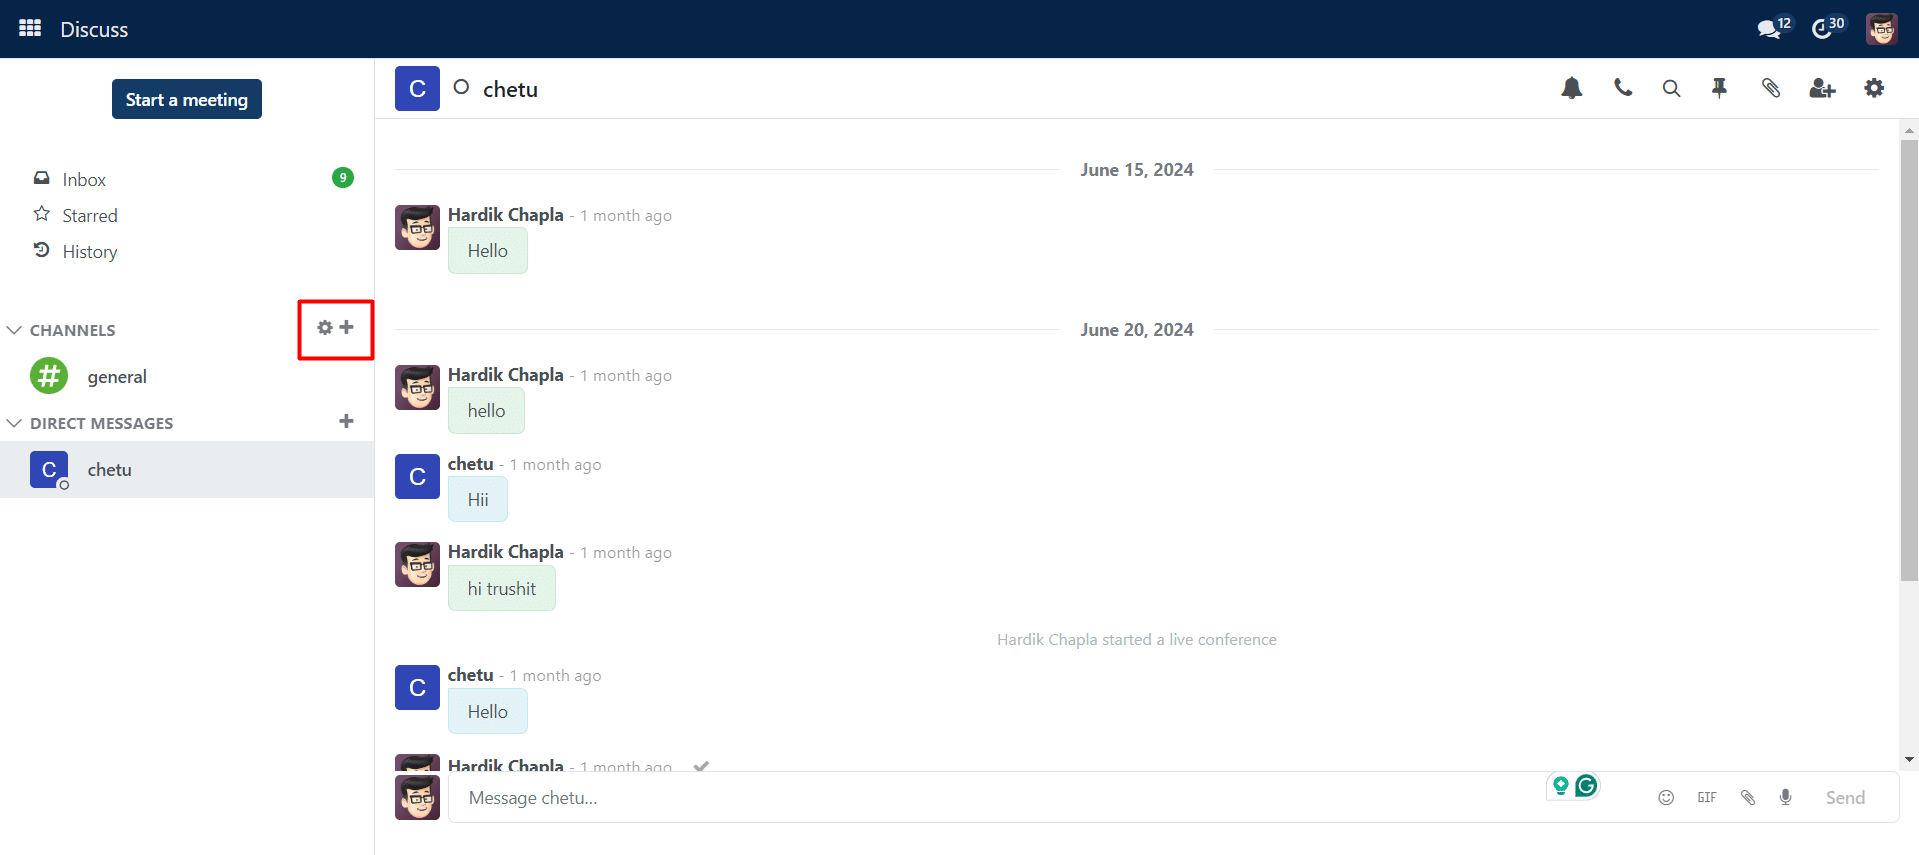
The settings button will display all of the channels that have previously been set up, just like in the picture. With this Settings icon, you can even have the opportunity to join certain channels.
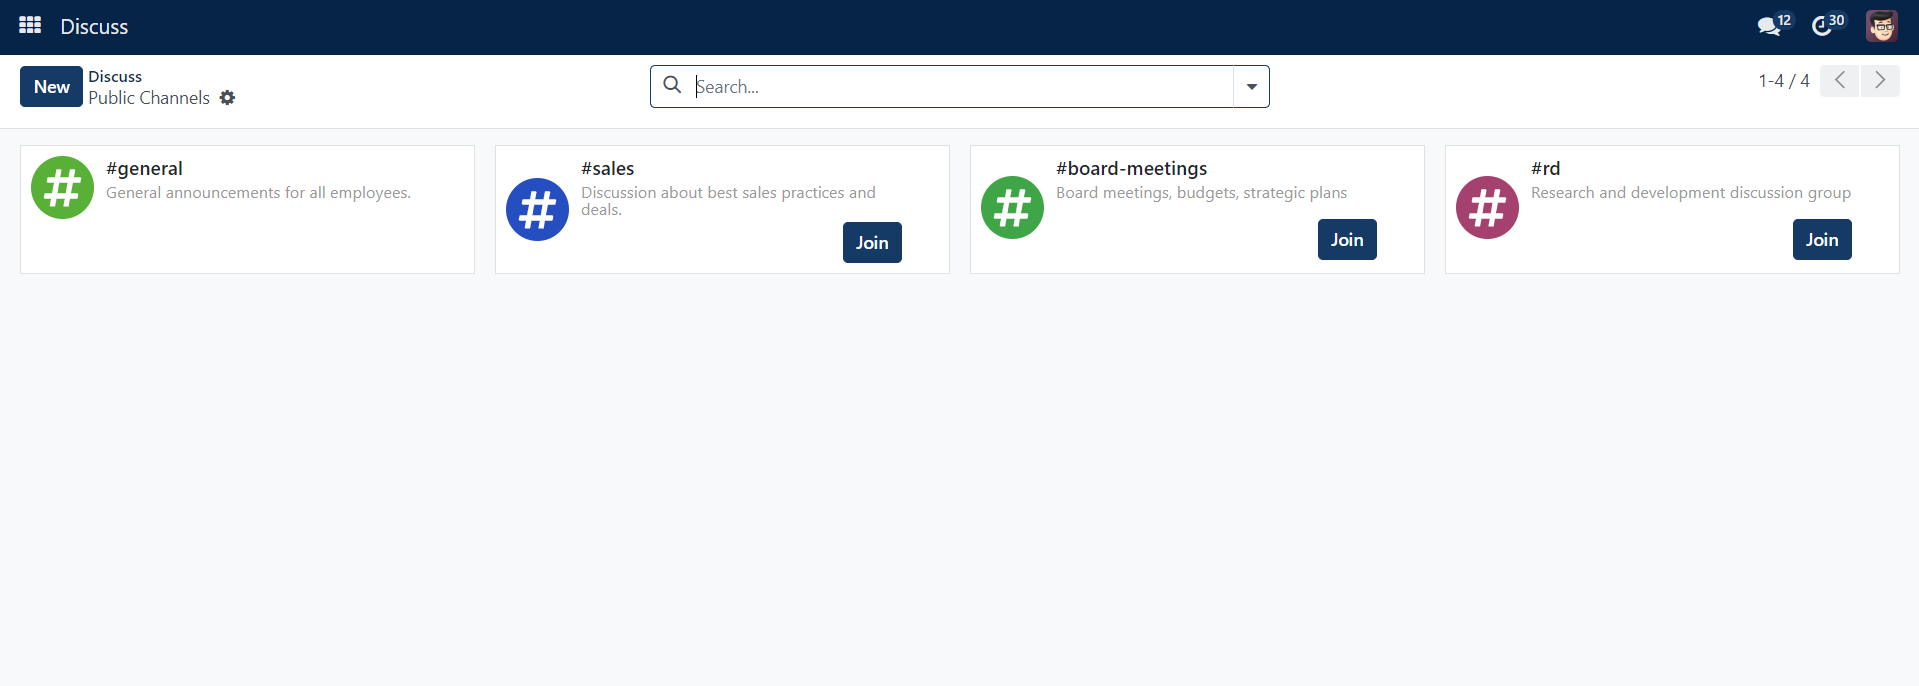
You can see that each channel offers you the chance to join it by clicking the JOIN button and that you can also quit the group by using the quit button. This reduces the visibility of these buttons.
You can filter the group list and filter them according to your needs with the aid of the Filters and Group By choices. Additionally, the Favourites option allows new groups to be added.
The New button in the window can be used to create a new channel. As seen in the screenshot below, after you click the New button, a page requesting certain information will load.
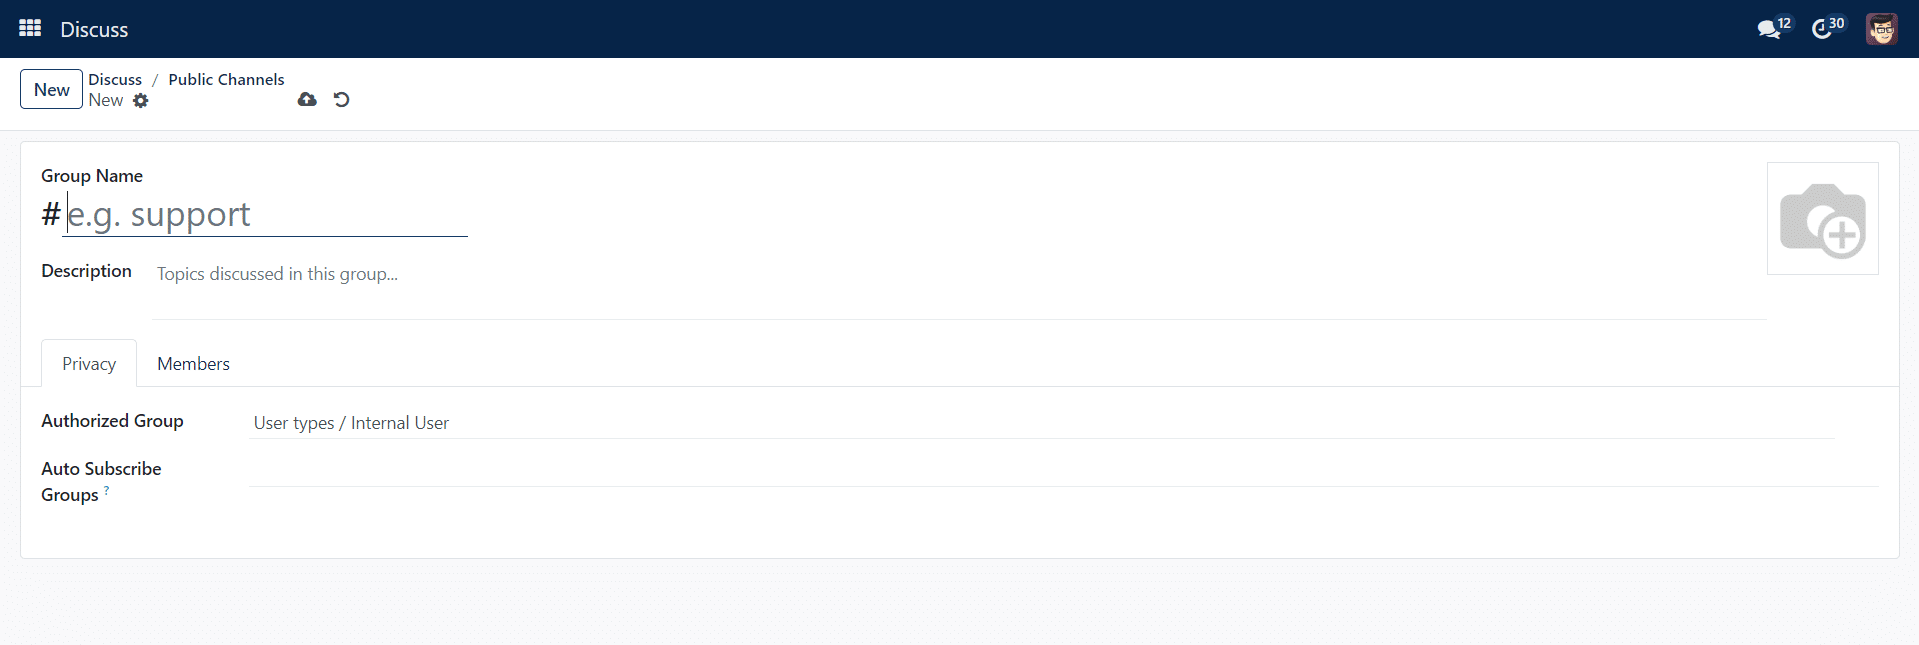
In this instance, the Group Name option allows you to enter the name of your channel. The group’s details can be found in the Description field. You must provide details such as the Authorized Subscribe Groups, Authorized Groups, and Auto Subscribe Departments under the Privacy tab. Members of the groups will be added as followers of the newly formed group when the groups are added to the Auto Subscribe Groups. The guest list will be expanded to include them. By choosing the Add a Line option on the Members Tab, as demonstrated below, you can add new members to the group.
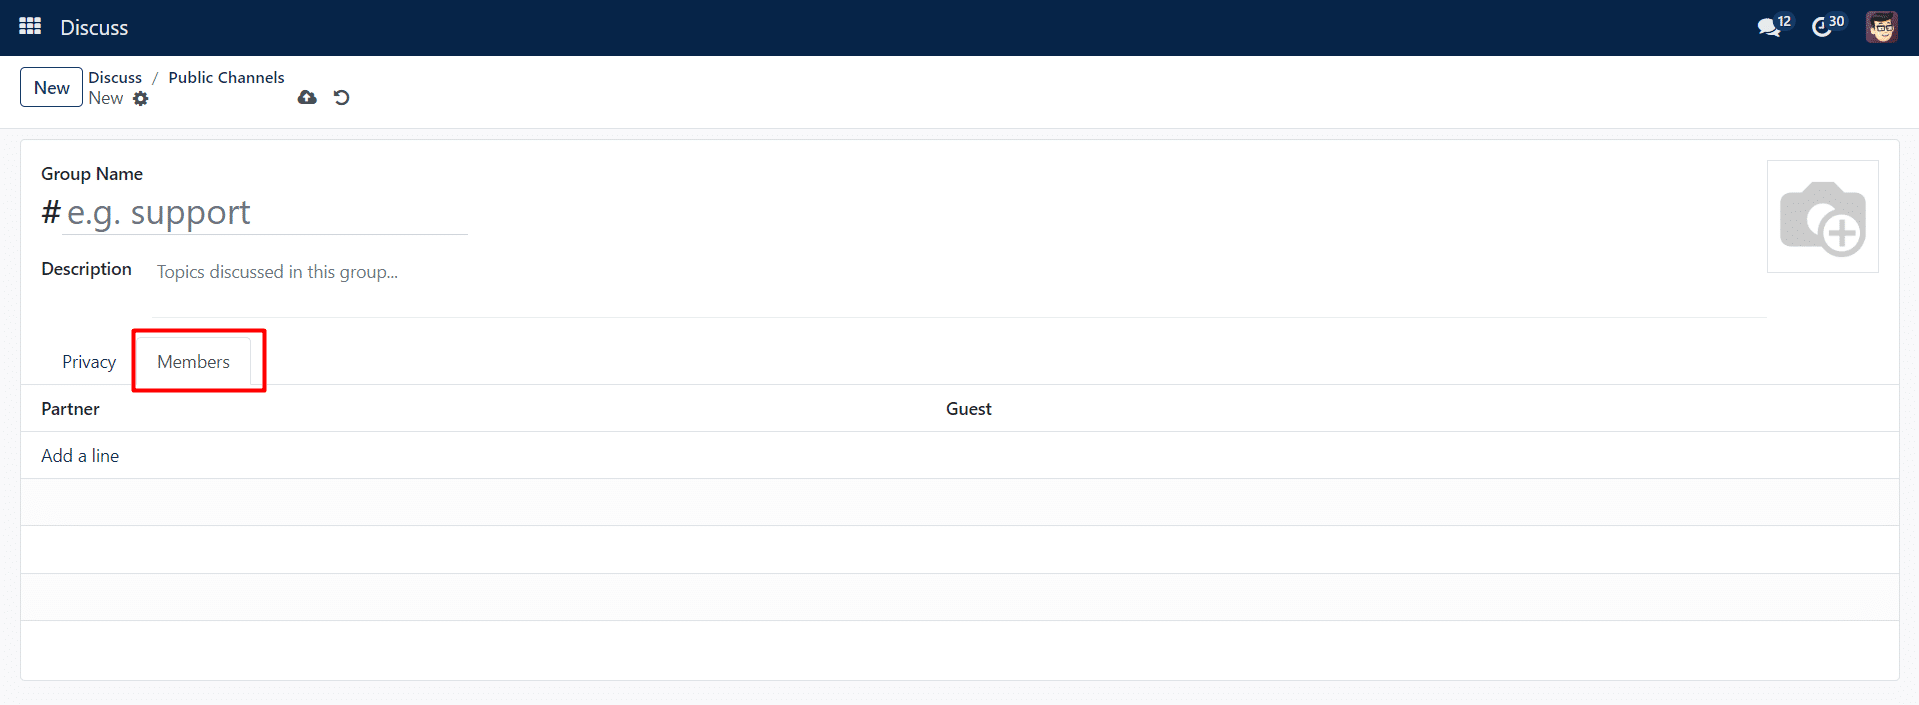
Here, you can fill in the slots with the recipient’s name and email address, accordingly. Finally, you can select the Save button. Additionally, the plus icon in the main window can be used to find a new channel.
You have the option to make the channel secret or public when you create it.
