Comprehensive Flutter Testing Strategies: Unit, Widget, and Integration Testing

29 June
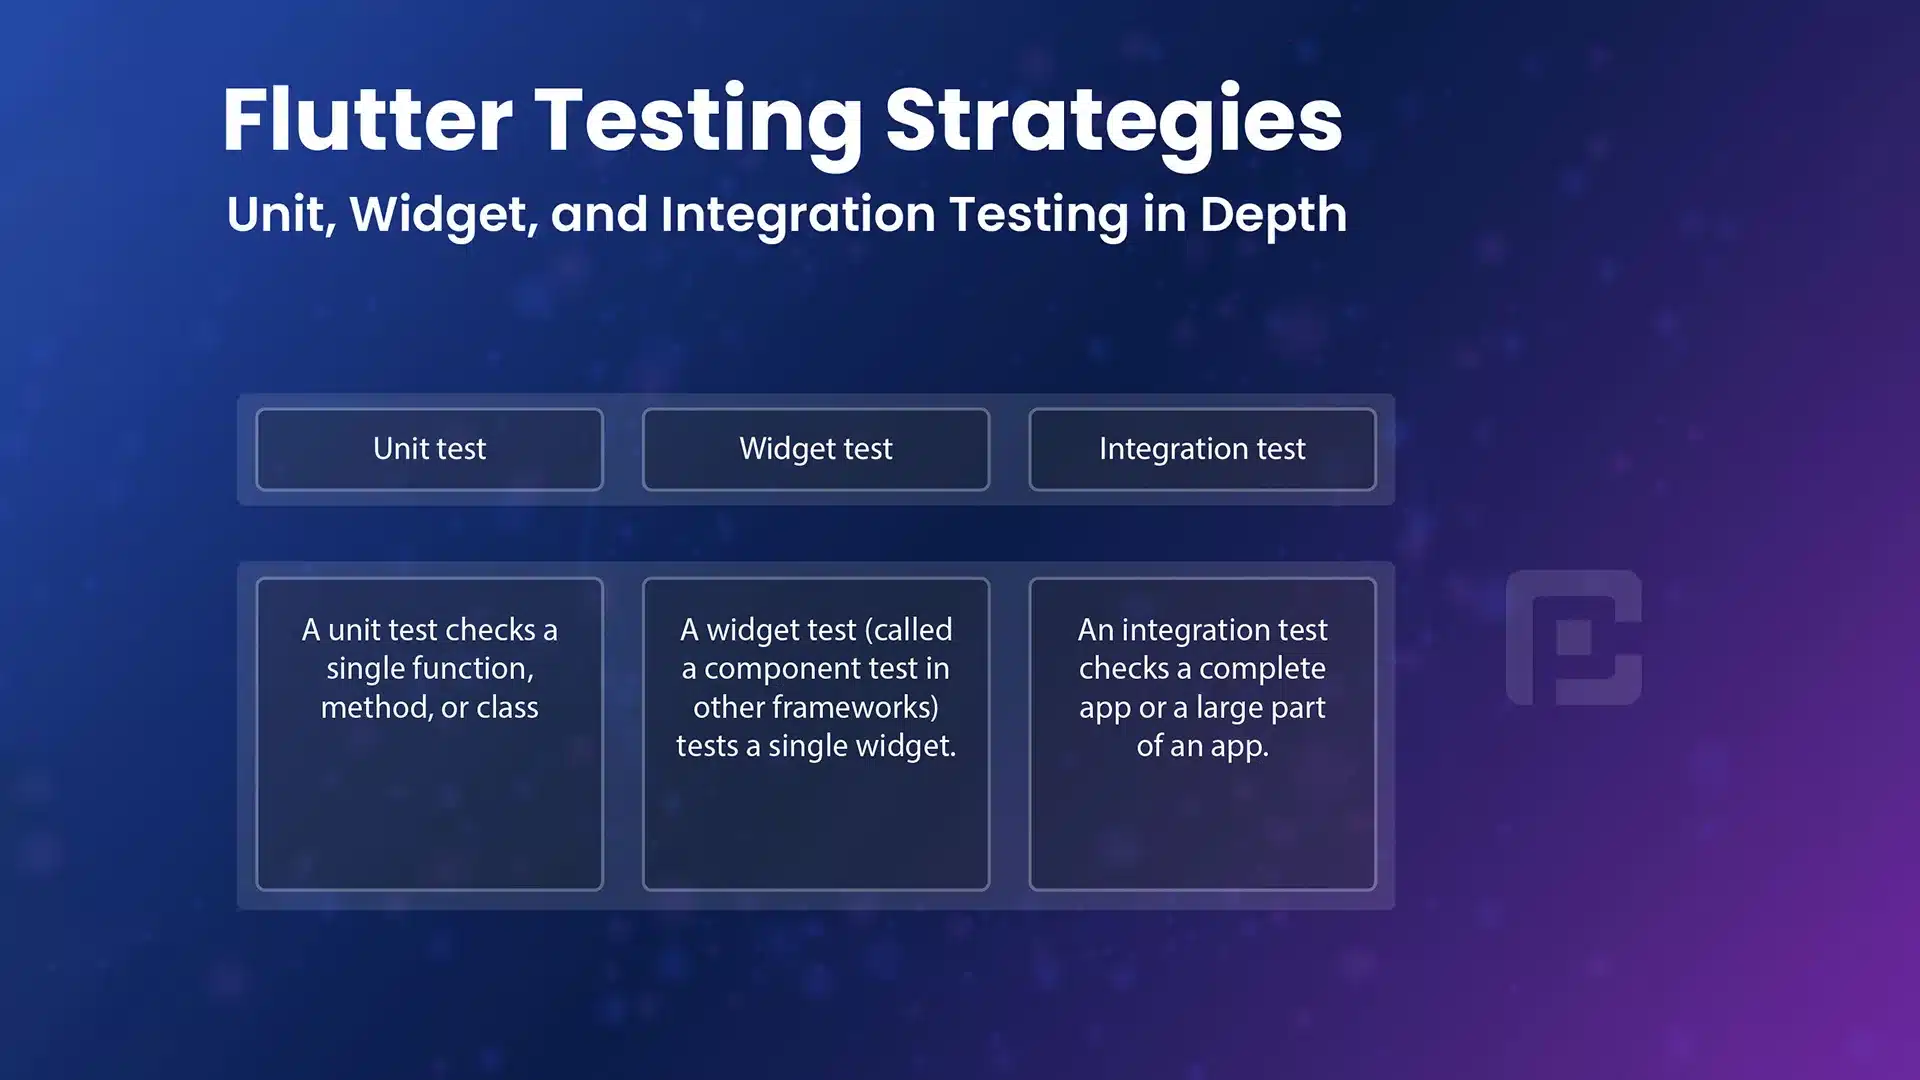
Testing is a crucial aspect of app development that ensures the stability, reliability, and quality of your Flutter applications. Flutter provides a robust testing framework that includes various testing strategies such as unit testing, widget testing, and integration testing. In this article, we will explore these testing strategies in-depth and discuss how they can be effectively applied to test different aspects of your Flutter app. We will dive into code examples that demonstrate the implementation of unit tests, widget tests, and integration tests, empowering you to write comprehensive and efficient tests for your Flutter projects.
Unit Testing with flutter_test Package
Unit testing focuses on testing individual units of code in isolation to ensure their correctness. In Flutter, unit tests are written using the flutter_test package. Let’s take a look at an example of a unit test for a simple function:
import 'package:flutter_test/flutter_test.dart';

int addNumbers(int a, int b) {
  return a + b;
}

void main() {
  test('Test addNumbers function', () {
    expect(addNumbers(2, 3), equals(5));
    expect(addNumbers(-2, 5), equals(3));
    expect(addNumbers(0, 0), equals(0));
  });
}
In this code example, we define a simple function addNumbers that takes two integers and returns their sum. We then write a unit test using the test function provided by the flutter_test package. Within the test, we use the expect function to define the expected outcomes of the function under different input scenarios. The equals matcher is used to compare the actual and expected values.
Widget Testing with flutter_test Package
Widget testing focuses on testing the UI and behavior of individual widgets in a Flutter app. Let’s consider an example of a widget test for a basic counter app:
import 'package:flutter/material.dart';
import 'package:flutter_test/flutter_test.dart';

class CounterApp extends StatefulWidget {
  @override
  _CounterAppState createState() => _CounterAppState();
}

class _CounterAppState extends State<CounterApp> {
  int counter = 0;

  void incrementCounter() {
    setState(() {
      counter++;
    });
  }

  @override
  Widget build(BuildContext context) {
    return MaterialApp(
      home: Scaffold(
        appBar: AppBar(
          title: Text('Counter App'),
        ),
        body: Center(
          child: Column(
            mainAxisAlignment: MainAxisAlignment.center,
            children: [
              Text('Counter Value: $counter'),
              ElevatedButton(
                onPressed: incrementCounter,
                child: Text('Increment'),
              ),
            ],
          ),
        ),
      ),
    );
  }
}

void main() {
  testWidgets('Test CounterApp widget', (WidgetTester tester) async {
    await tester.pumpWidget(CounterApp());

    expect(find.text('Counter Value: 0'), findsOneWidget);

    await tester.tap(find.byType(ElevatedButton));
    await tester.pump();

    expect(find.text('Counter Value: 1'), findsOneWidget);
  });
}
In this code example, we define a simple CounterApp widget that displays a counter value and an increment button. The testWidgets function is used to write a widget test. Within the test, we use WidgetTester methods like pumpWidget, tap, and pump to interact with the widget and verify its behavior. We use the find function to locate specific widgets and the findsOneWidget matcher to assert their presence.
Integration Testing with flutter_driver Package
Integration testing focuses on testing the interaction between different parts of your Flutter app. Flutter provides the flutter_driver package for writing integration tests that simulate user interactions and verify the behavior of the entire app. Let’s see an example of an integration test for a login screen:
import 'package:flutter_driver/flutter_driver.dart';
import 'package:test/test.dart';

void main() {
  FlutterDriver driver;

  setUpAll(() async {
    driver = await FlutterDriver.connect();
  });

  tearDownAll(() async {
    if (driver != null) {
      driver.close();
    }
  });

  group('Login Screen', () {
    final emailTextField = find.byValueKey('emailTextField');
    final passwordTextField = find.byValueKey('passwordTextField');
    final loginButton = find.byValueKey('loginButton');

    test('Test valid login', () async {
      await driver.tap(emailTextField);
      await driver.enterText('test@example.com');

      await driver.tap(passwordTextField);
      await driver.enterText('password123');

      await driver.tap(loginButton);

      await driver.waitFor(find.text('Welcome, Test User'));
    });

    test('Test invalid login', () async {
      await driver.tap(emailTextField);
      await driver.enterText('invalid@example.com');

      await driver.tap(passwordTextField);
      await driver.enterText('invalidpassword');

      await driver.tap(loginButton);

      await driver.waitFor(find.text('Invalid credentials'));
    });
  });
}
In this code example, we use the FlutterDriver class to interact with the app during the integration test. The setUpAll function establishes a connection with the app, and the tearDownAll function closes the connection after the tests are complete. We define a test group for the login screen and use find.byValueKey to locate specific widgets. The integration tests simulate user interactions by tapping on text fields and buttons and assert the expected outcomes using the waitFor function.
Conclusion
Testing is an integral part of Flutter app development, and understanding different testing strategies is crucial for delivering high-quality and robust applications. In this article, we explored unit testing, widget testing, and integration testing in Flutter. We covered code examples for each testing strategy to provide a practical understanding of their implementation. By leveraging these testing strategies effectively, you can ensure the reliability, stability, and performance of your Flutter apps throughout the development process. Happy testing!


