In Ceramic CRM, creating a new dealer involves entering essential information about the dealer, such as their name and various other details. This article will guide you through the process step-by-step.
Step 1: Access the Dealers Module
1. Log in to Ceramic CRM.
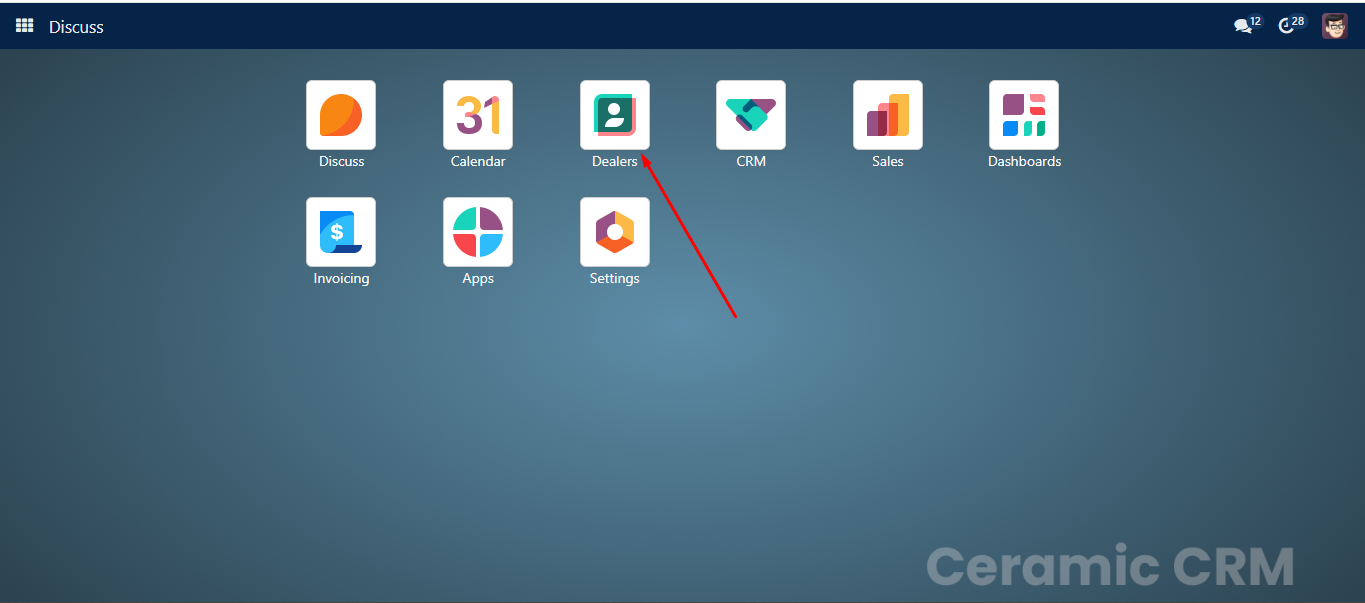
2. Navigate to the “Dealers” module from the main dashboard.
Select Dealer from the app list
Step 2: Create Dealer
To create new dealer click on New button from Dealer List
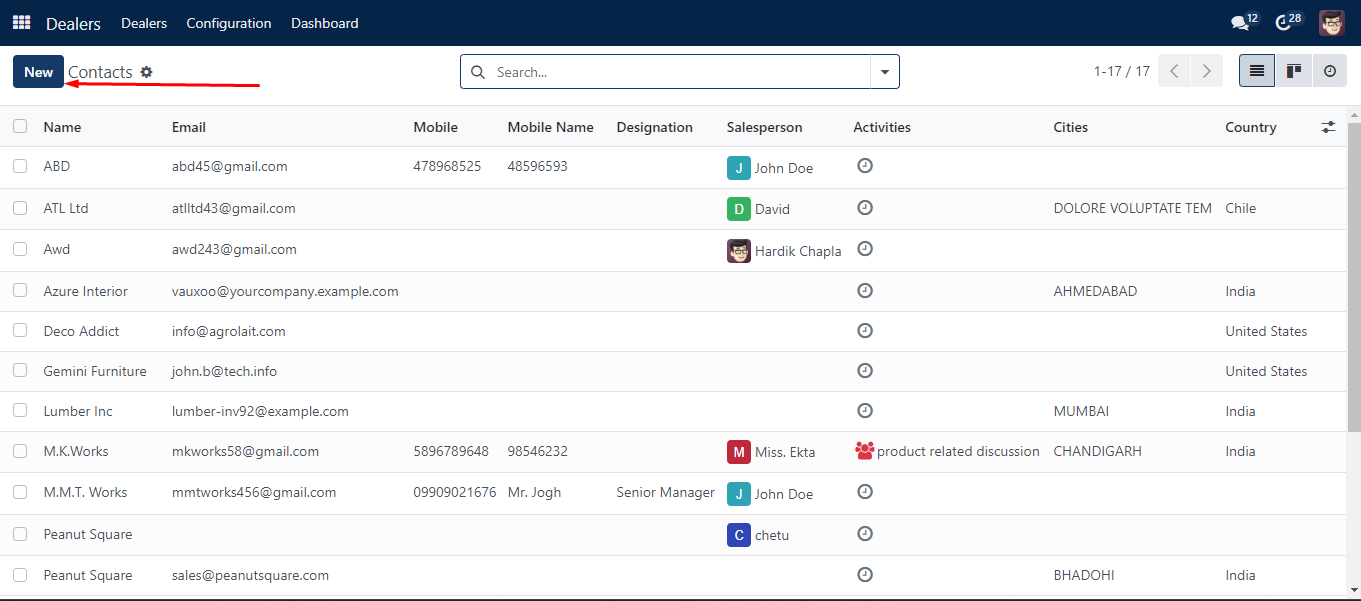
after clicking on that button you will see following screen

Fill out all necessary fields and click on cloud icon to save it.

Following fields are required
| Fields | Descriptions |
|---|---|
| Name | Enter the full name of the individual or the company. This name will be used throughout the CRM. |
| Address | Enter the complete address of the dealer. |
| Group | Select or create a group in which you can add multiple dealers. |
| Area | Specify the area where the dealer operates. |
| Operators | Assign or create a new company operator responsible for this dealer. |
| Reference | If the dealer was referred by someone, enter the referrer’s name. |
| Stage | Indicate the current stage of the dealer, such as New Enquiry, Follow-up, Factory Visited, etc. |
| Type of Customers | Specify whether the dealer is a Premium Dealer, Standard Dealer, or a One-time Purchase dealer. |
| Dealer Location | Enter the location of the dealer. |
| Priority | Set the priority level for this dealer. |
| Competitor Brands | Add any competitor brands associated with the dealer. |
| Enter the dealer’s email address. | |
| Website | Enter the dealer’s website URL. |
| Tags | Enter preconfigured tags by typing them in the field or selecting them from the drop-down menu. To create a new tag, type it in the field and click “Create” from the drop-down menu. |
| Sales Person | Assign a salesperson to the dealer. |
| Sales Team | Assign a sales team to the dealer. |
| ASM (Area Sales Manager) | Assign an Area Sales Manager. |
| RSM (Regional Sales Manager) | Assign a Regional Sales Manager. |
| GM (General Manager) | Assign a General Manager. |
| Mobile | Enter the mobile number of the dealer. |
| Name | Re-enter the name of the dealer contact person, if different from the dealer name. |
| Designation | Enter the designation of the dealer contact person. |
Step 3: Save the Dealer Information
After filling in all the required fields, click the “Save” button to create the new dealer in Ceramic CRM. The dealer will now be listed in the Dealers module, and their information will be available for future reference and actions.
Conclusion
By following these steps, you can efficiently create a new dealer in Ceramic CRM, ensuring that all necessary details are accurately recorded and easily accessible for your sales and management teams.