React JS installation and Setup
24 March
Introduction of React
React JS is the top UI framework in the world . It is trendy and cool and revolves around a lot of debate loops in front end web development compared to Angular or Vue JS and what not . There are a lot of missing introductions to React JS that people do not know.
We generally find HTML, CSS, Javascript as the prerequisites to start on with the React framework, or is it a framework that is also debatable. But we never try to find the importance and need of React JS before setting up the project or running the npx create-react-app command.
We should officially first know a bit about what React is all about in its first place so that many learners like us do not mug up the most popular and life-saving UI framework.
Foremost, React is a library to create User Interfaces in web applications where a library is a mechanism with less code and less rules in which you can just easily inject your code without any worry of routing or other parameters unlikely frameworks follow a full-fledged mechanism to work with.
React is nothing but a piece of JavaScript code that we are injecting in our code, making it the hottest library in the whole JavaScript ecosystem. With React , web developers develop and code web applications that avoid racing conditions and mutable states of DOM following the VDOM concept that can refresh the web page and re-render the UI automatically.
Why is React Needed?
React is a component based library that uses VDOM concept so that Model and User Interface in MVC architecture can directly communicate to each other without any interference of Controller such that any new change in the website could refresh or reload that component only in which changes are done instead of loading back the whole page that just upgrades and scales up the speed efficiency of websites and made the user experience even better.
Installation of React Application
The installation of React includes some prerequisite JavaScript environments , Node package Manager and NodeJS.
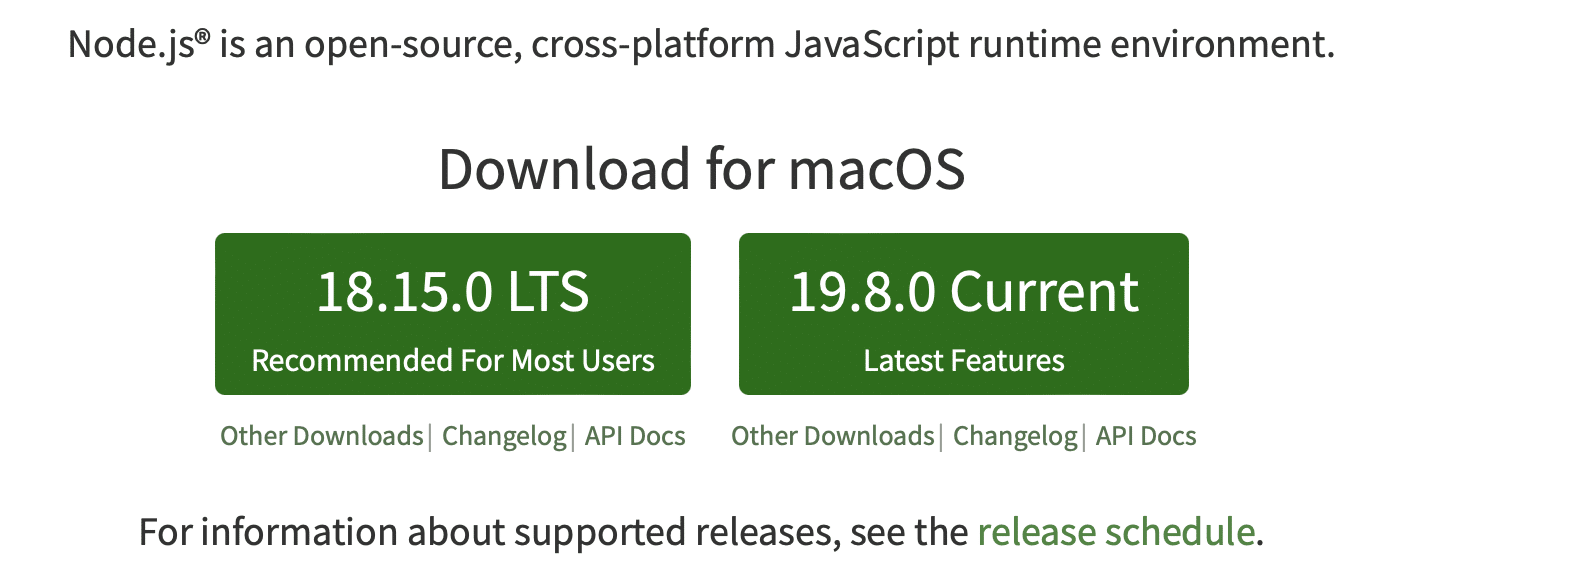
Step 1 : Browse your google chrome or any search engine to search for NodeJS , you will find the top most official link of NodeJS to get it download and installed in compatibility to your window or mac workstation configuration from https://nodejs.org/en/download/
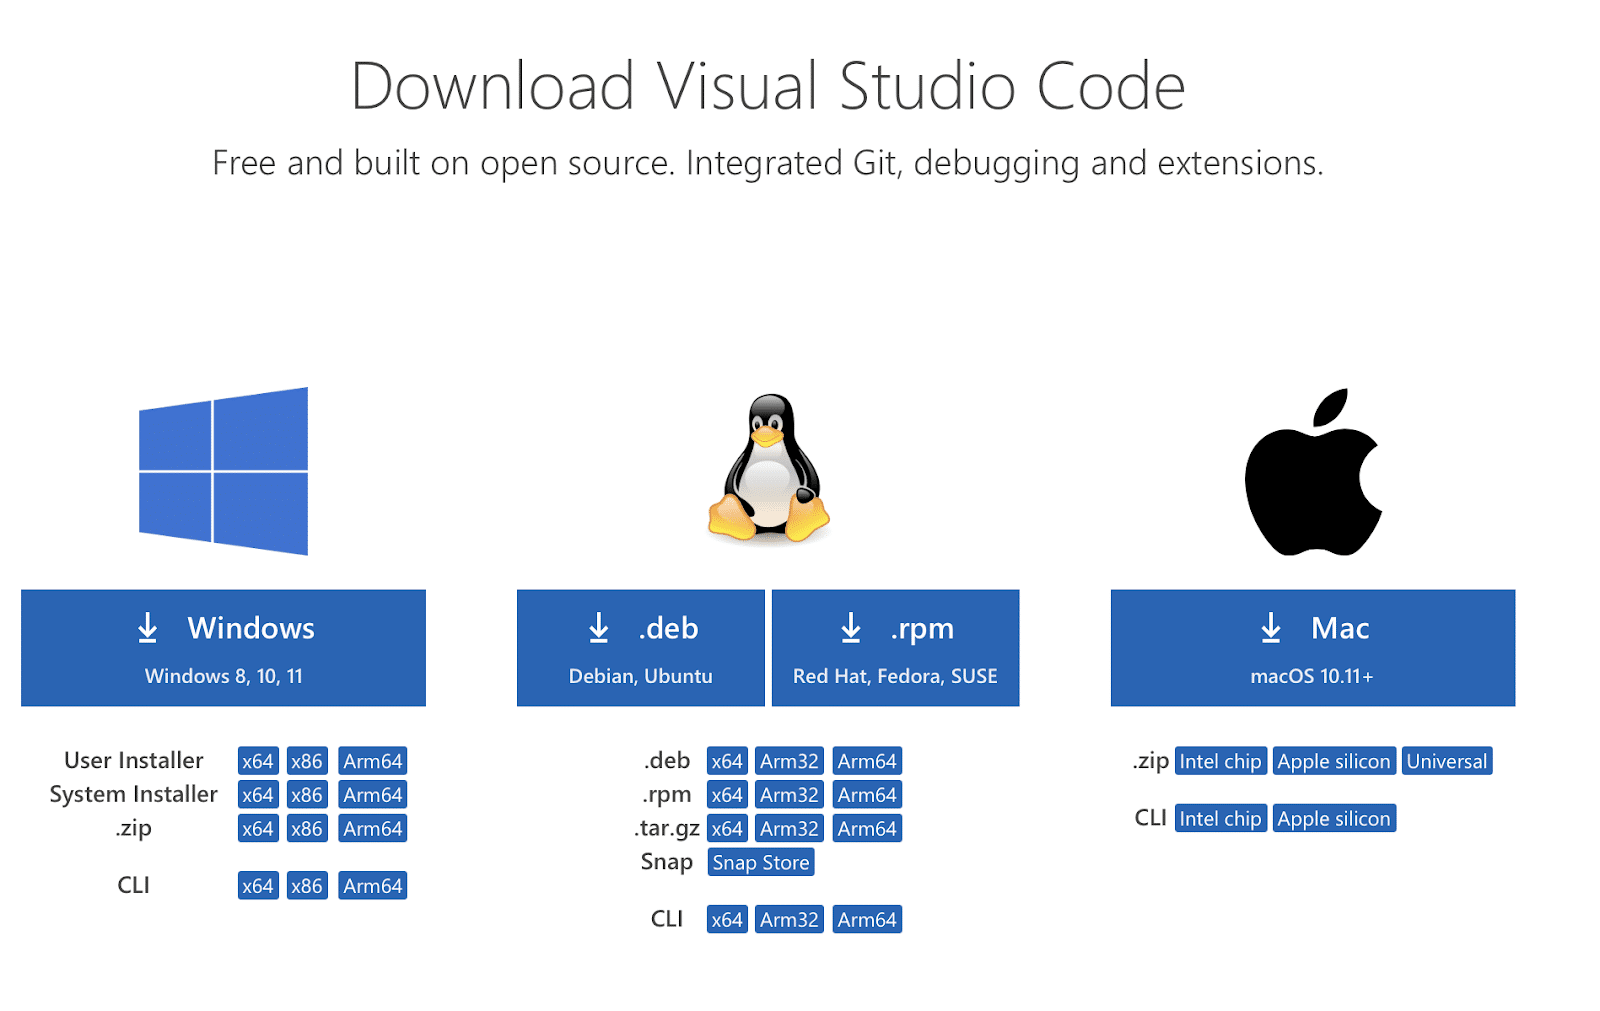
Step 2 : Select an appropriate code editor to perform code implementation , the best says it is visual studio code to be installed in compatible to the system configuration of windows or mac from https://code.visualstudio.com/download
Step 4 : Browse the command line terminal in your machine using cmd and type the following command to check if the Node JS is executed successfully : node -v which tells about which node version is installed successfully.
Set Up React Application
After the prerequisites are successfully installed in the system from the steps mentioned above, we can set up the React and inject React Library in the already installed Javascript environment.
Step 1 : Create a folder on your desktop with name for say my-react-app

Step 2 : Go to the visual studio code editor that you have just installed following the steps mentioned above and open that particular folder in the code editor.
Step 3 : The visual code editor gives an inline command terminal to execute commands for installation and configuration of later on packages and libraries that are managed by NodePackage Manager ( NPM ) which came automatically. bundled with installation of NodeJS itself.
Step 4 : One of the easiest ways of setting up a new react app is to type i the following command in the terminal saying
Command : npx create-react-app <app name>
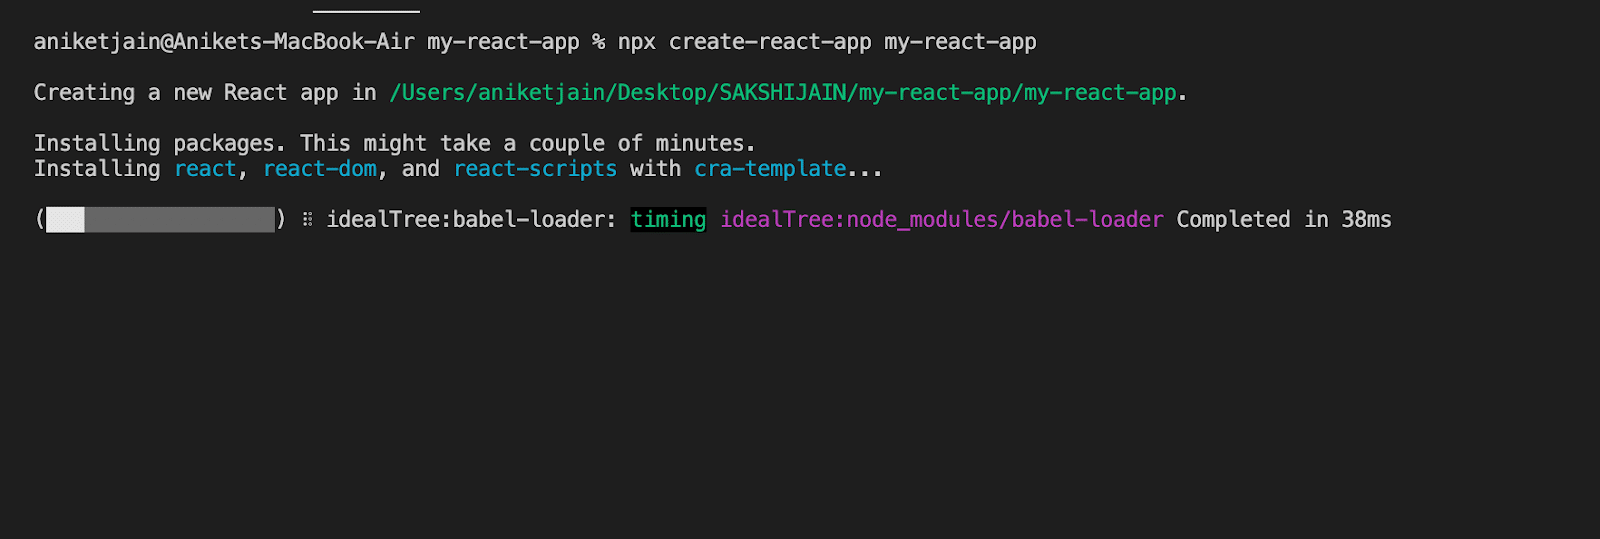
npx create-react-app my-react-app
The command npx create react app will create a quick and running React project in the frontend pipeline customized to your project and the project name. It does not take any configuration manually, instead it installs all web pack dependencies, backend configurations and other tools and packages in one whole create react app for you to ignite React easily in your code.
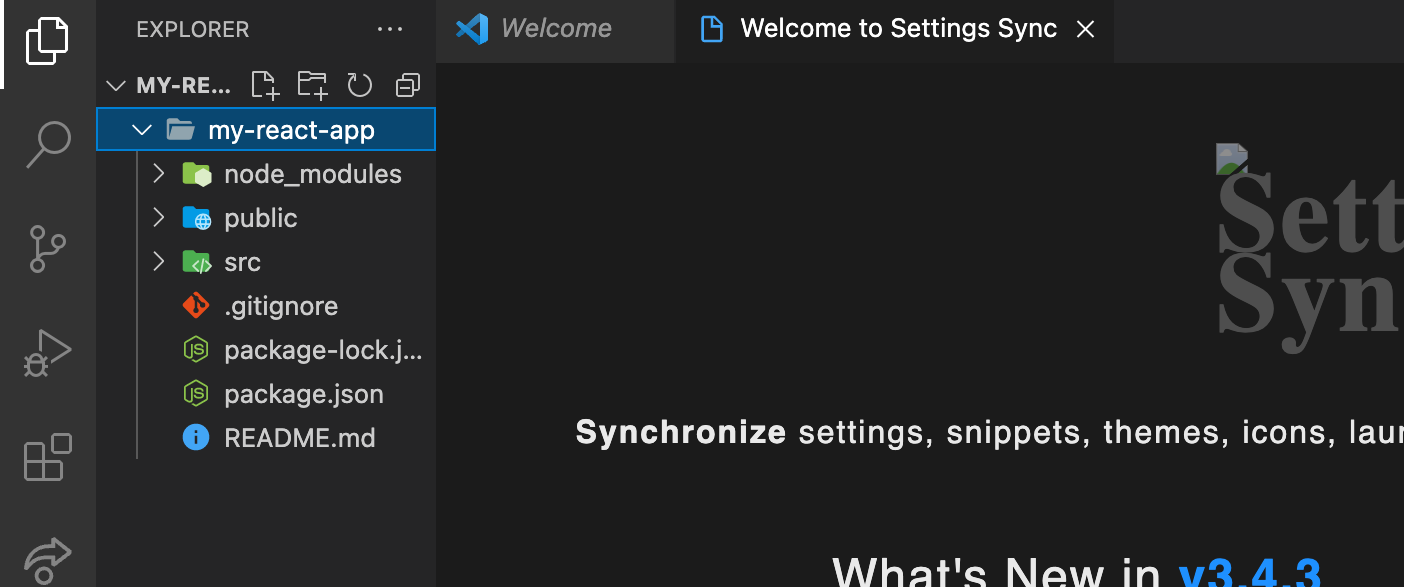
Step 5 : Once the above code injects React easily in your project and your code, the following modules and packages are installed.
- Node_modules contains all the dependencies of the project that can be the packages to be installed using NPM ( node package manager )
- The public/ folder contains public assets like index.html that renders the main UI to the user on the screen.
- src/ folder is where you find the core of JavaScript and react implementation in the code as well , where you find inside App.js which is the main react file that is rendered on the screen using index.html as the base template and css file for styling the webpage. It is the starting point of React Application in whole.
Run the React Application
Once the React project is created and we overview every file present in it, the particular react project can be run using the following steps mentioned above :
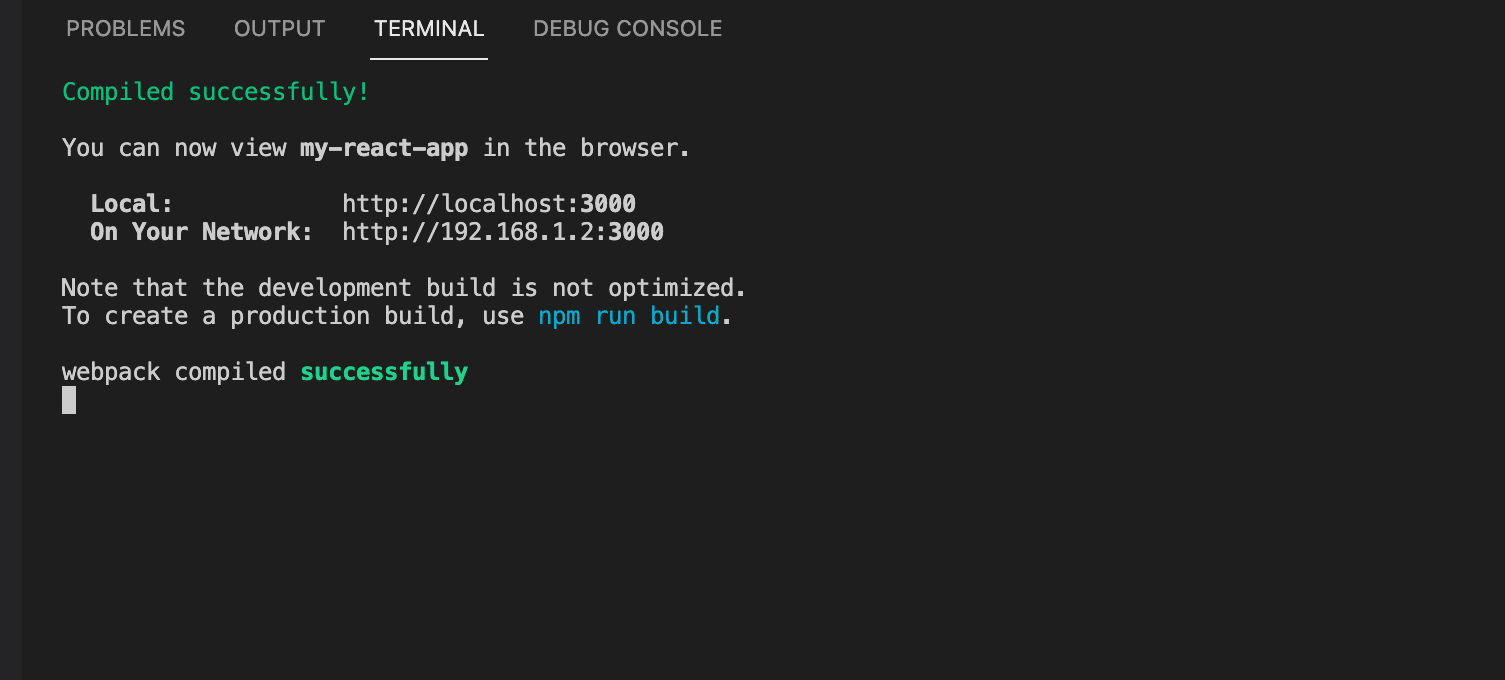
Step 1 : The command npm start will run the development web server and the basic React project will be loaded on the local server.
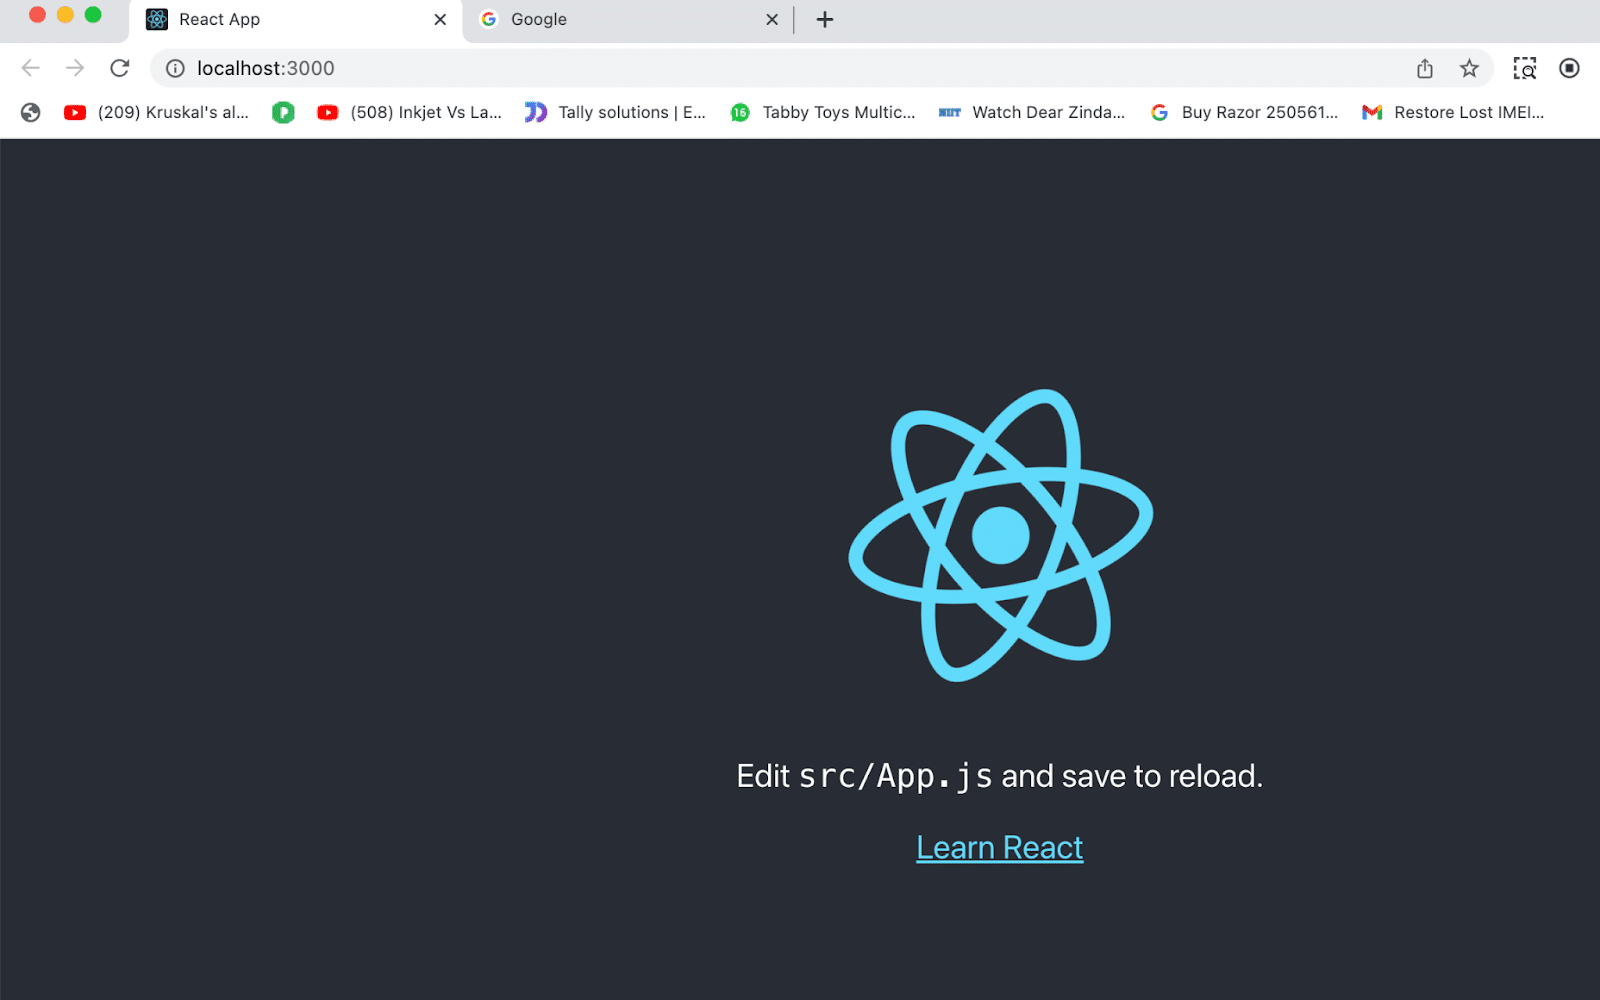
Step 2 : The browser is automatically opened and the URL is created at the local host of the default 3000 port to see the following React created website on the screen. It is a default generation by the React library which is injected in our code.
Conclusion
This ends us up to the biggest kickstarter of React application from its introduction and its place in web development to the installation and setting it up according to your workstation and system is quite easy and on the flow to proceed to the world of React magically.


