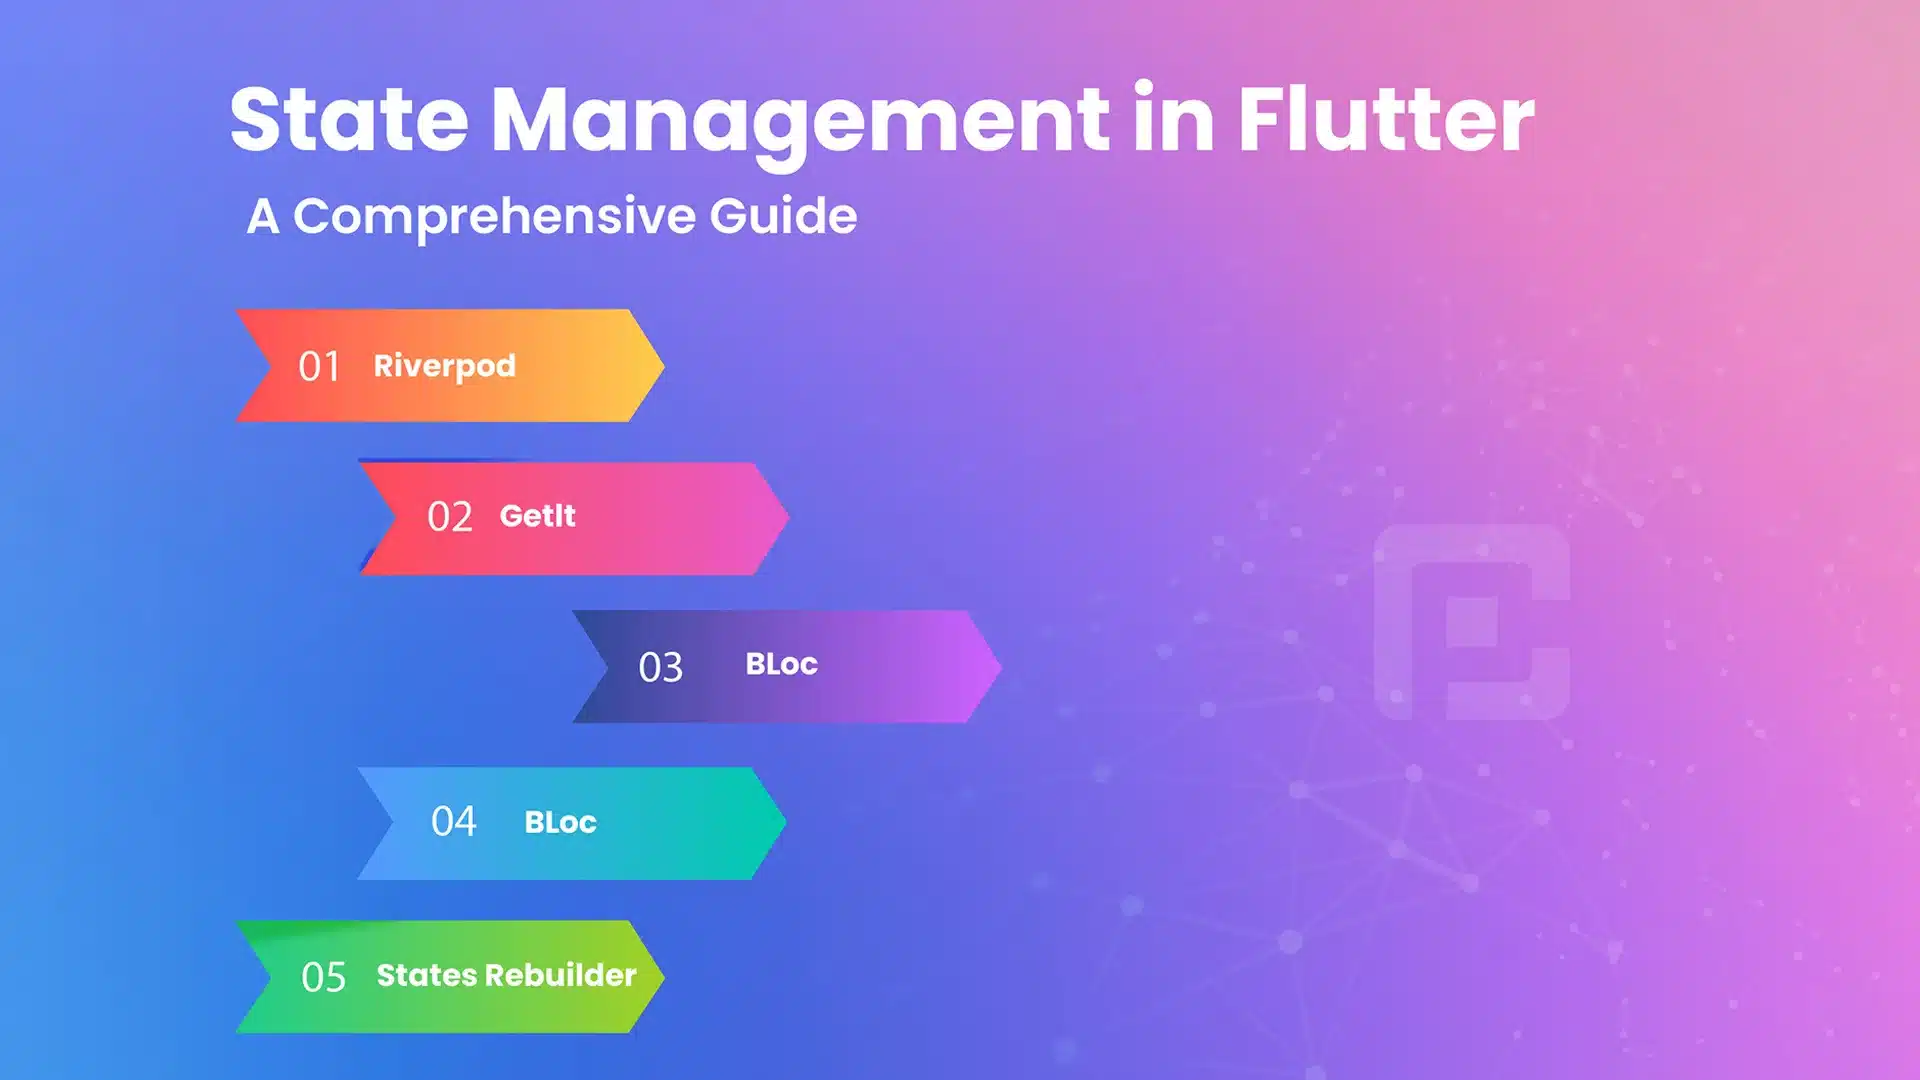
State Management in Flutter: A Comprehensive Guide

27 June
State management is a crucial aspect of Flutter app development, especially as your app grows in complexity. Flutter offers several state management solutions to help you efficiently manage and update the app’s state. In this comprehensive guide, we will explore different state management techniques in Flutter and discuss their pros and cons.
Understanding State in Flutter
Before diving into state management, it’s essential to understand what state is in the context of a Flutter app. State represents the data that can change over time and affects the app’s behaviour and UI. Flutter uses a reactive programming model, where the UI reacts to changes in the underlying state.
Local State Management
1. StatefulWidget and setState()
The simplest form of state management in Flutter is using the setState() method with StatefulWidget. For example, let’s consider a counter app where the count is stored as local state within a StatefulWidget. We can update the count using the setState() method, and the UI will reflect the changes.
Example: Counter App
class CounterApp extends StatefulWidget {
  @override
  _CounterAppState createState() => _CounterAppState();
}

class _CounterAppState extends State<CounterApp> {
  int count = 0;

  void increment() {
    setState(() {
      count++;
    });
  }

  @override
  Widget build(BuildContext context) {
    return Scaffold(
      appBar: AppBar(
        title: Text('Counter App'),
      ),
      body: Center(
        child: Column(
          mainAxisAlignment: MainAxisAlignment.center,
          children: [
            Text('Count: $count'),
            ElevatedButton(
              onPressed: increment,
              child: Text('Increment'),
            ),
          ],
        ),
      ),
    );
  }
}
2. ValueNotifier and ChangeNotifier
For more complex scenarios, you can use ValueNotifier or ChangeNotifier along with the Provider package to propagate state changes across widgets. For instance, in a shopping app, we can use ValueNotifier to track the total cart items and update the UI accordingly.
Example: Shopping Cart App
class CartItem {
  String name;
  int quantity;

  CartItem(this.name, this.quantity);
}

class Cart with ChangeNotifier {
  List<CartItem> _items = [];

  List<CartItem> get items => _items;

  int get itemCount => _items.length;

  void addToCart(CartItem item) {
    _items.add(item);
    notifyListeners();
  }

  void removeFromCart(CartItem item) {
    _items.remove(item);
    notifyListeners();
  }
}

class ShoppingCartApp extends StatelessWidget {
  @override
  Widget build(BuildContext context) {
    return ChangeNotifierProvider(
      create: (context) => Cart(),
      child: Scaffold(
        appBar: AppBar(
          title: Text('Shopping Cart'),
        ),
        body: Consumer<Cart>(
          builder: (context, cart, _) {
            return ListView.builder(
              itemCount: cart.itemCount,
              itemBuilder: (context, index) {
                final item = cart.items[index];
                return ListTile(
                  title: Text(item.name),
                  subtitle: Text('Quantity: ${item.quantity}'),
                  trailing: IconButton(
                    icon: Icon(Icons.remove_shopping_cart),
                    onPressed: () {
                      cart.removeFromCart(item);
                    },
                  ),
                );
              },
            );
          },
        ),
        floatingActionButton: FloatingActionButton(
          child: Icon(Icons.add_shopping_cart),
          onPressed: () {
            final cart = Provider.of<Cart>(context, listen: false);
            cart.addToCart(CartItem('Product', 1));
          },
        ),
      ),
    );
  }
}
Scoped State Management
3. InheritedWidget
InheritedWidget allows you to share state across a subtree of widgets efficiently. Let’s consider a language selection feature in an app. We can use InheritedWidget to provide the selected language to all the widgets beneath the language selection widget.
Example: Language Selection App
class LanguageModel extends InheritedWidget {
  final String selectedLanguage;

  LanguageModel({
    Key? key,
    required this.selectedLanguage,
    required Widget child,
  }) : super(key: key, child: child);

  static LanguageModel? of(BuildContext context) {
    return context.dependOnInheritedWidgetOfExactType<LanguageModel>();
  }

  @override
  bool updateShouldNotify(LanguageModel oldWidget) {
    return selectedLanguage != oldWidget.selectedLanguage;
  }
}

class LanguageSelectionApp extends StatelessWidget {
  @override
  Widget build(BuildContext context) {
    return LanguageModel(
      selectedLanguage: 'English',
      child: Scaffold(
        appBar: AppBar(
          title: Text('Language Selection'),
        ),
        body: Column(
          mainAxisAlignment: MainAxisAlignment.center,
          children: [
            LanguageDisplay(),
            SizedBox(height: 20),
            LanguageSelector(),
          ],
        ),
      ),
    );
  }
}

class LanguageDisplay extends StatelessWidget {
  @override
  Widget build(BuildContext context) {
    final languageModel = LanguageModel.of(context);
    return Text('Selected Language: ${languageModel?.selectedLanguage ?? ''}');
  }
}

class LanguageSelector extends StatelessWidget {
  @override
  Widget build(BuildContext context) {
    return ElevatedButton(
      onPressed: () {
        final languageModel = LanguageModel.of(context);
        // Update the selected language
        // languageModel?.selectedLanguage = 'Spanish';
        // ...
      },
      child: Text('Select Language'),
    );
  }
}
4. Provider Package
The Provider package simplifies the usage of InheritedWidget and provides a convenient way to manage and consume state. Continuing with the language selection example, we can use the Provider package to manage the language state and make it available to all the widgets that need to access the selected language.
Example: Language Selection App with Provider Package
class LanguageModel extends ChangeNotifier {
  String _selectedLanguage = 'English';

  String get selectedLanguage => _selectedLanguage;

  void selectLanguage(String language) {
    _selectedLanguage = language;
    notifyListeners();
  }
}

class LanguageSelectionApp extends StatelessWidget {
  @override
  Widget build(BuildContext context) {
    return ChangeNotifierProvider(
      create: (context) => LanguageModel(),
      child: Scaffold(
        appBar: AppBar(
          title: Text('Language Selection'),
        ),
        body: Column(
          mainAxisAlignment: MainAxisAlignment.center,
          children: [
            LanguageDisplay(),
            SizedBox(height: 20),
            LanguageSelector(),
          ],
        ),
      ),
    );
  }
}

class LanguageDisplay extends StatelessWidget {
  @override
  Widget build(BuildContext context) {
    final languageModel = Provider.of<LanguageModel>(context);
    return Text('Selected Language: ${languageModel.selectedLanguage}');
  }
}

class LanguageSelector extends StatelessWidget {
  @override
  Widget build(BuildContext context) {
    final languageModel = Provider.of<LanguageModel>(context, listen: false);
    return ElevatedButton(
      onPressed: () {
        languageModel.selectLanguage('Spanish');
      },
      child: Text('Select Language'),
    );
  }
}
Global State Management
1. BLoC (Business Logic Component) Pattern
BLoC is a popular pattern for managing global state in Flutter. For example, in a weather app, we can use the BLoC pattern to handle the weather data and update the UI accordingly. We can define a WeatherBloc that manages the state and exposes streams of weather data.
Example: Weather App with BLoC Pattern
class WeatherBloc {
  final _weatherStreamController = StreamController<Weather>();

  Stream<Weather> get weatherStream => _weatherStreamController.stream;

  void fetchWeather() async {
    // Fetch weather data from API
    // ...
    // Update the weather stream
    _weatherStreamController.add(weatherData);
  }

  void dispose() {
    _weatherStreamController.close();
  }
}

class WeatherApp extends StatelessWidget {
  final WeatherBloc _weatherBloc = WeatherBloc();

  @override
  void dispose() {
    _weatherBloc.dispose();
    super.dispose();
  }

  @override
  Widget build(BuildContext context) {
    return Scaffold(
      appBar: AppBar(
        title: Text('Weather App'),
      ),
      body: StreamBuilder<Weather>(
        stream: _weatherBloc.weatherStream,
        builder: (context, snapshot) {
          if (snapshot.hasData) {
            final weatherData = snapshot.data!;
            return Column(
              children: [
                Text('Temperature: ${weatherData.temperature}'),
                Text('Condition: ${weatherData.condition}'),
              ],
            );
          } else if (snapshot.hasError) {
            return Text('Error: ${snapshot.error}');
          } else {
            return CircularProgressIndicator();
          }
        },
      ),
      floatingActionButton: FloatingActionButton(
        onPressed: () {
          _weatherBloc.fetchWeather();
        },
        child: Icon(Icons.refresh),
      ),
    );
  }
}
2. Redux
Redux is another state management pattern that enforces a unidirectional data flow. In a to-do list app, we can use Redux to manage the state of tasks. Actions such as adding a task or marking a task as complete will update the app state, and the UI will reflect the changes.
Example: To-Do List App with Redux
// Define actions
enum TodoAction { add, toggle }

// Define reducer
List<String> todoReducer(List<String> state, dynamic action) {
  if (action is Map<String, dynamic>) {
    final type = action['type'] as TodoAction;
    final payload = action['payload'];

    switch (type) {
      case TodoAction.add:
        return [...state, payload];
      case TodoAction.toggle:
        final index = state.indexOf(payload);
        if (index != -1) {
          final newState = [...state];
          newState[index] = 'Completed: ${newState[index]}';
          return newState;
        }
        break;
    }
  }

  return state;
}

class TodoListApp extends StatelessWidget {
  final Store<List<String>> _store =
      Store<List<String>>(todoReducer, initialState: []);

  @override
  Widget build(BuildContext context) {
    return StoreProvider<List<String>>(
      store: _store,
      child: Scaffold(
        appBar: AppBar(
          title: Text('To-Do List'),
        ),
        body: StoreConnector<List<String>, List<String>>(
          converter: (store) => store.state,
          builder: (context, todoList) {
            return ListView.builder(
              itemCount: todoList.length,
              itemBuilder: (context, index) {
                final todo = todoList[index];
                return ListTile(
                  title: Text(todo),
                  onTap: () {
                    _store.dispatch({
                      'type': TodoAction.toggle,
                      'payload': todo,
                    });
                  },
                );
              },
            );
          },
        ),
        floatingActionButton: FloatingActionButton(
          onPressed: () {
            showDialog(
              context: context,
              builder: (context) {
                String newTodo = '';
                return AlertDialog(
                  title: Text('Add Todo'),
                  content: TextField(
                    onChanged: (value) {
                      newTodo = value;
                    },
                  ),
                  actions: [
                    TextButton(
                      onPressed: () {
                        _store.dispatch({
                          'type': TodoAction.add,
                          'payload': newTodo,
                        });
                        Navigator.pop(context);
                      },
                      child: Text('Add'),
                    ),
                  ],
                );
              },
            );
          },
          child: Icon(Icons.add),
        ),
      ),
    );
  }
}
Conclusion
State management plays a vital role in Flutter app development, and choosing the right approach depends on your app’s complexity and requirements. In this comprehensive guide, we explored different state management techniques, including local state management with setState(), ValueNotifier, and ChangeNotifier, scoped state management with InheritedWidget and the Provider package, and global state management with the BLoC pattern and Redux.
By understanding these state management techniques and their examples, you are now equipped to make informed decisions when it comes to managing state in your Flutter applications. Remember to assess your app’s needs, consider scalability, and choose the state management solution that best fits your requirements.
Happy coding!


